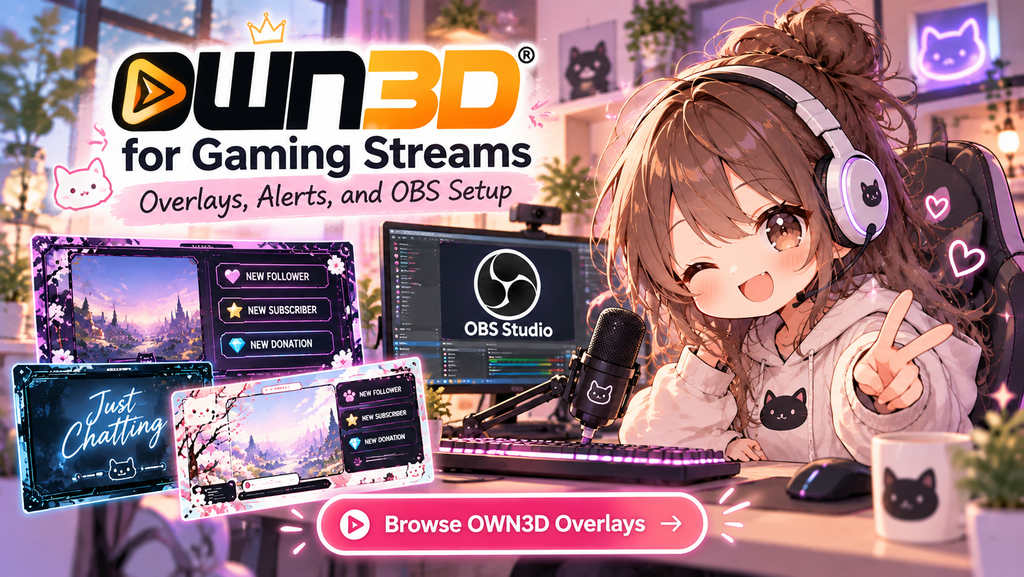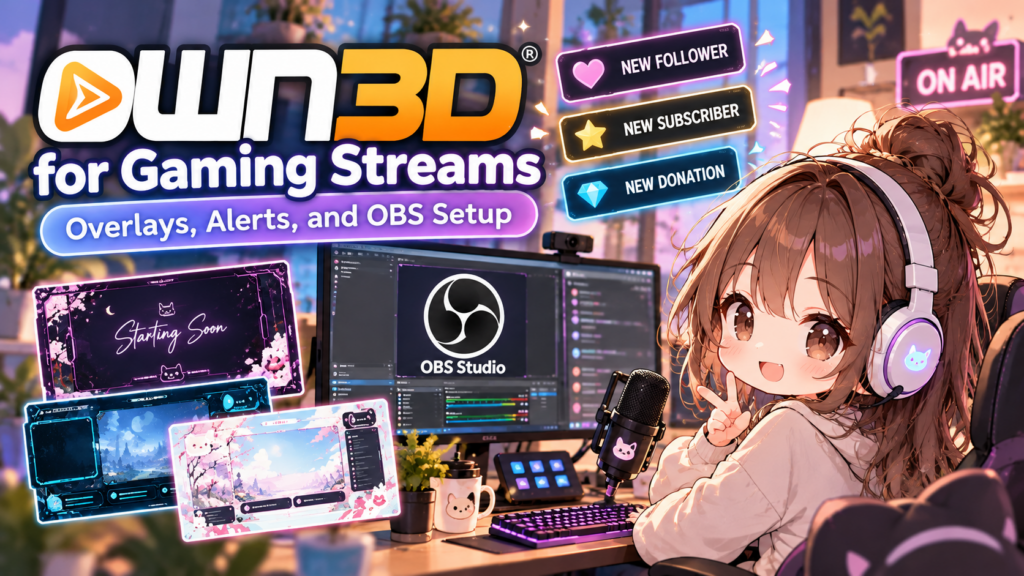
Want to make your gaming stream look more professional without designing every graphic from scratch? OWN3D offers stream overlays, animated alerts, webcam frames, panels, and other visual assets that help creators build a consistent streaming setup.
In this guide, you’ll learn how to choose an OWN3D design, add graphics to OBS Studio, set up stream alerts, and test everything before going live.
Disclosure: This article contains affiliate links. If you make a purchase through these links, we may earn a commission at no extra cost to you.
What Is OWN3D?
OWN3D is a platform for streaming graphics and creator tools. It offers visual assets for gaming streamers, including:
- Stream overlays: Frames and layouts for gameplay, webcams, and other on-screen elements.
- Animated alerts: Notifications for events such as new followers, subscriptions, and donations.
- Starting and intermission screens: Visuals to use before a stream, during breaks, and at the end.
- Panels and channel graphics: Designs that help your channel look consistent.
- OWN3D Pro tools: Browser-based features for creating and customizing stream scenes, alerts, and widgets.
Depending on the product, you may download graphics for your broadcasting software or configure elements through OWN3D Pro.
Step 1: Choose a Stream Design
Before downloading anything, think about the style you want your channel to have.
For example, a competitive FPS stream might look best with a clean, dark layout, while a cozy gaming channel could use softer colors and playful graphics.
When choosing a design, consider these points:
- Readability: Your gameplay should remain easy to see.
- Consistency: Match your overlays, alerts, and webcam frame.
- Screen space: Avoid covering important game information.
- Animation: Use movement to highlight important events without distracting viewers.
You can browse the available designs on the official OWN3D website and compare different styles before choosing one.
Step 2: Download or Customize Your Overlay
The setup process depends on which OWN3D product you choose.
For a downloadable overlay package, purchase or select a package, download the files, and extract them if necessary. Keep the graphics organized in a dedicated folder so you can find them later.
For OWN3D Pro, sign in to your account and explore the available scenes, widgets, and alert designs. Select a design that matches your channel, then customize its colors, text, layout, or other available settings.
Beginner tip: Start with a simple layout. You can always add more elements after you’ve tested your first stream.
Step 3: Add Your Overlay to OBS Studio
OBS Studio lets you combine your game, webcam, graphics, and other elements into a single scene.
To add a downloaded overlay:
- Open OBS Studio.
- Select the scene you want to edit, or create a new scene.
- Under Sources, click the + button.
- Choose the appropriate source type for your file, such as Image or Media Source.
- Select your downloaded graphic or animation.
- Resize and position it in the preview.
- Make sure the overlay does not hide important gameplay information.
You can add other elements, such as a webcam frame or social media labels, using the same general process.
If you use an OWN3D Pro scene or alert that provides a browser source URL, add a Browser source in OBS and paste the supplied URL into the source settings.
The exact steps may vary depending on the OWN3D product and file type.
Step 4: Set Up Animated Stream Alerts
Alerts can make your stream feel more interactive by acknowledging important viewer actions.
Depending on the platform and configuration, alerts may be used for events such as follows, subscriptions, donations, or raids.
To configure OWN3D Pro alerts:
- Open the alert section in your OWN3D Pro account.
- Choose an available alert design.
- Customize the visual style, message, sound, or timing where supported.
- Save your settings.
- Copy the alert or scene URL provided by the tool.
- In OBS Studio, add a Browser source and paste the URL.
- Adjust the source dimensions and position to fit your layout.
Use the built-in test function, if available, to preview the alert before streaming.
If an alert appears without sound, check the alert’s audio settings and your broadcasting software’s audio configuration.
Step 5: Keep Your Stream Layout Clean
It’s tempting to add every available graphic, but more overlays do not necessarily make a stream better.
Try to maintain a clear visual hierarchy:
- Keep the gameplay as the main focus.
- Place your webcam where it doesn’t block important information.
- Use alerts that are noticeable but not overwhelming.
- Keep text large enough to read on smaller screens.
- Use consistent colors and fonts across your scenes.
It’s also useful to create separate scenes for gameplay, starting soon, breaks, and ending your stream. This makes transitions easier and gives viewers a more polished experience.
Step 6: Test Everything Before Going Live
Before your next stream, run through this quick checklist:
- All overlay files load correctly.
- Browser sources display the expected graphics.
- Alerts trigger and appear in the right position.
- Alert sounds are at a reasonable volume.
- Your webcam and game are visible.
- Important game information is not covered.
- Your starting, break, and ending scenes work as expected.
If possible, make a short test recording. Watching it back can reveal problems that are easy to miss while editing your scenes.
Is OWN3D Worth Using for Gaming Streams?
OWN3D can be useful if you want ready-made graphics and a more consistent visual identity without creating every asset yourself.
It may be a good fit for:
- New streamers who want a quick starting point.
- Gaming creators who prefer matching overlays and alerts.
- Existing streamers who want to refresh their channel’s appearance.
- Creators who want to customize their stream without building every graphic from scratch.
However, the right option depends on your needs and budget. Some assets may be available for free, while other designs or features require payment or a subscription. Check the current product details before purchasing.
Remember that attractive graphics alone won’t grow a channel. Clear audio, engaging gameplay, consistent streaming, and interaction with viewers are also important.
Final Thoughts
OWN3D can help you build a more polished gaming stream with coordinated overlays, alerts, and scene graphics.
Start with one clean gameplay scene, add only the elements you need, and test everything in OBS Studio before going live. Once the basics work reliably, you can expand your setup with additional scenes and visual effects.
A professional-looking stream doesn’t have to be complicated. Focus on readability, consistency, and a setup that makes it easy for viewers to enjoy your content.
If you want to explore another streaming tool, check out our guide on how to use Streamlabs for gaming.
You can also improve your channel’s visual appeal with our guide to creating gaming thumbnails with Canva.
Ready to personalize your stream? Browse OWN3D stream overlays to find a design that fits your chan